The Posting Routine After a Cane Corso Is Cropped
Bringing a Cane Corso puppy home after ear cropping can feel like a daunting task, filled with questions about how to properly care for those newly shaped ears. Many owners feel overwhelmed by the process of posting, worried about doing it wrong, causing pain, or even damaging the final result. This guide will walk you through the essential posting routine, offering practical advice and dispelling common anxieties so you can confidently ensure your Cane Corso's ears heal beautifully and stand proud.
Understanding the Initial Healing Phase
When your Cane Corso first comes home after an ear crop, the focus is entirely on healing. It's a critical period where comfort, cleanliness, and vigilant observation are paramount. You’re likely to feel a mix of excitement for their new look and concern for their well-being, which is completely normal.
Immediate Post-Surgery Care and Bandaging
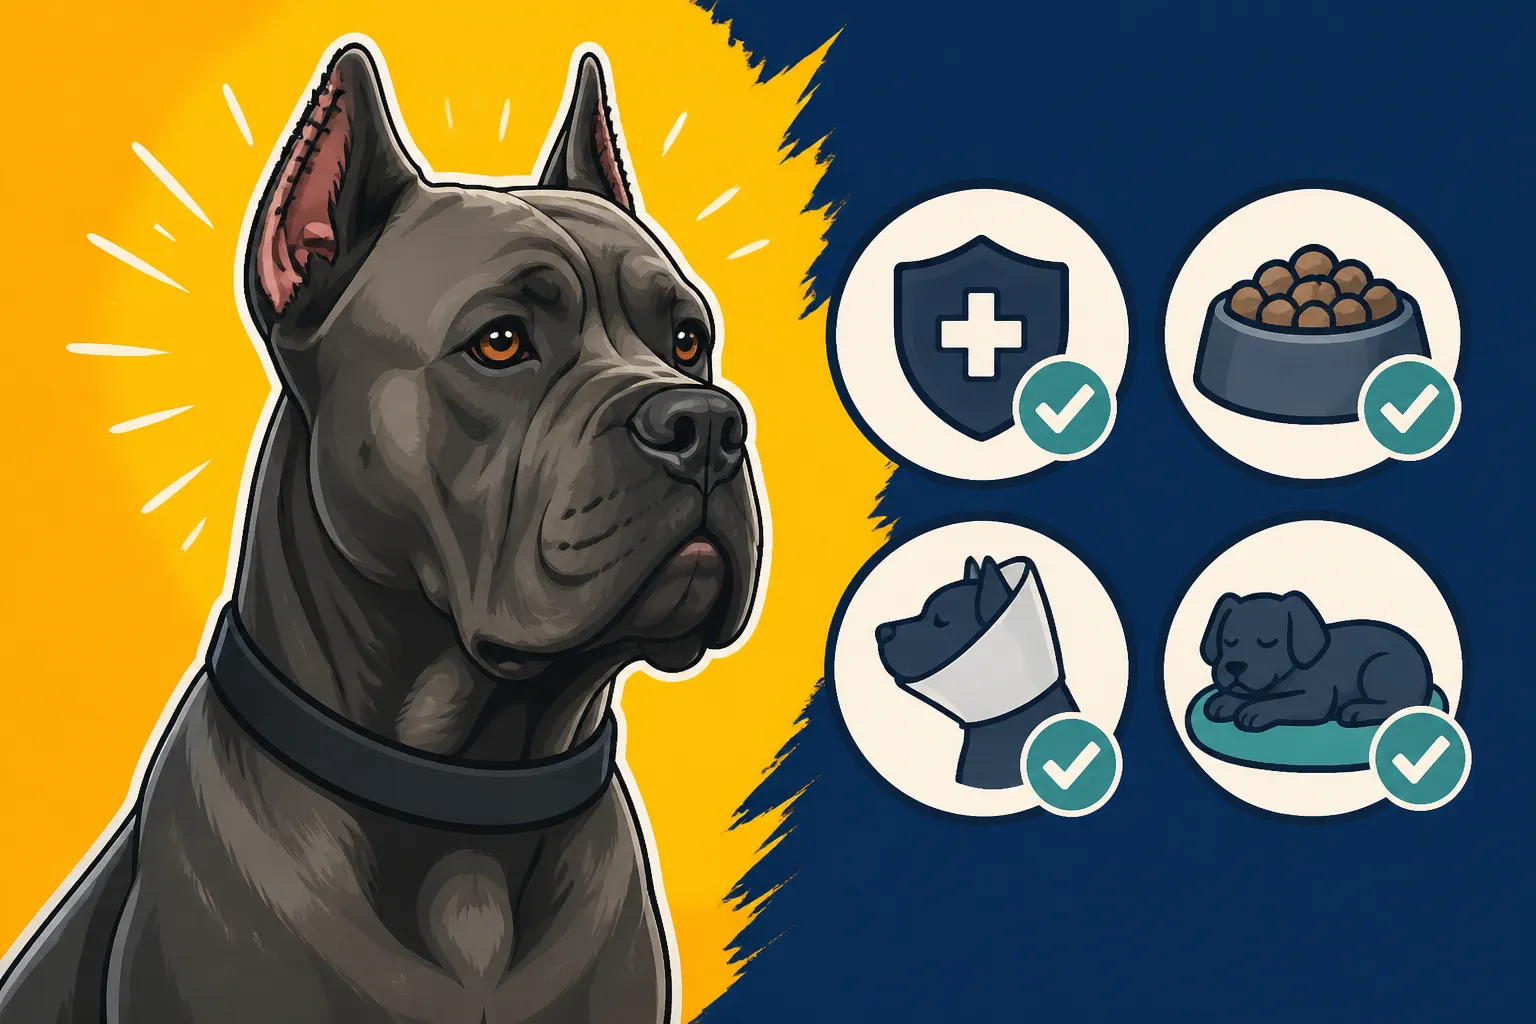
The first thing you’ll notice is the elaborate bandage system. Your vet will send your puppy home with a heavy, protective head wrap, often resembling a halo or cone, designed to keep the ears safe and immobile while the incisions begin to close. This initial bandage is absolutely crucial for protecting the delicate surgical sites from bumping, scratching, or infection. You should receive clear instructions from your veterinarian about how long this initial bandage needs to stay on and what to do if it becomes wet, loose, or damaged. This protective period typically lasts about a week to ten days, depending on the vet's assessment and the puppy's healing progress.
During this time, your puppy will likely be on pain medication and possibly antibiotics. Administering these exactly as prescribed is vital for their comfort and to prevent complications. Keep an eye on their appetite and demeanor. A puppy that is unusually withdrawn, refusing to eat, or seems in excessive pain needs immediate veterinary attention. Remember, this initial phase is about allowing the raw edges to seal and setting the stage for the posting routine. It's not uncommon for puppies to be a bit groggy or irritable right after surgery, so provide a quiet, comfortable space for them to rest and recover. If you're wondering about the initial procedure itself, you can read more about The Cost of Cropping a Cane Corso's Ears and What Aftercare on a Cropped Cane Corso Costs.
Signs of Infection and Early Complications
Even with the best care, sometimes complications can arise. Knowing what to look for can help you react quickly and potentially prevent serious issues. The most common concern during the initial healing phase is infection. Keep a close watch on the edges of the ears, even with the bandages on, looking for any foul odor, excessive swelling that wasn't there before, or discharge seeping through the bandage that is green or yellowish. A little bit of redness or slight swelling is normal, but anything escalating rapidly or seeming very hot to the touch could indicate trouble.
Another complication can be suture issues. Sometimes stitches can come loose, or the incision edges might not be closing properly. While this is often something your vet will check at the follow-up appointment, if you notice any gaping wounds or excessive bleeding, it’s a good idea to contact them sooner. Also, pay attention to how your puppy reacts to touching their head. While some sensitivity is expected, extreme pain or a sudden change in their pain level could be a sign that something is amiss under the bandages. Always err on the side of caution and call your vet if you have any concerns. This immediate post-op period is sensitive, and proactive care makes all the difference for a smooth transition into posting. It's why Where Cropping a Cane Corso Requires a Licensed Vet is so important – ensuring a professional handles the delicate procedure and provides excellent aftercare advice.
The Art of Taping: Your Posting Guide
Once the initial healing period is over and your vet gives the green light, it’s time to embark on the posting journey. This is where patience and proper technique become your best friends. The goal is to keep the ears erect and straight, encouraging the cartilage to strengthen in the desired position.
Gathering Your Supplies
Before you even think about taking off that first bandage, make sure you have all your supplies ready. Rushing through this process or realizing you’re missing something mid-tape can be incredibly frustrating for both you and your puppy. Here’s a typical list of what you'll need:
| Item | Description | Purpose | Where to Find |
|---|---|---|---|
| Medical Tape | Hypoallergenic, breathable tape (e.g., Zonas, breathable athletic tape) | Securing posts without irritating skin. | Vet office, pharmacies, large online retailers like Amazon, Chewy |
| Backer Rod/Foam Posts | Soft foam rods or pre-made ear posts, appropriate diameter | Provides structure and support inside the ear. | Specialty pet stores, online, vet recommendations |
| Adhesive Remover | Gentle, pet-safe adhesive remover | Loosening old tape for easier, less painful removal. | Vet office, pet supply stores |
| Antiseptic Wipes/Spray | Chlorhexidine wipes or gentle antiseptic spray | Cleaning the ear thoroughly between postings. | Vet office, pharmacies |
| Cotton Balls/Pads | Soft cotton to clean and apply solutions | For cleaning and drying the ear canal. | Any pharmacy or grocery store |
| Scissors | Blunt-tipped, medical scissors | Cutting tape and posts safely. | Medical supply stores, crafting stores |
| Powder (optional) | Zeasorb or medicated powder for irritation | Helps prevent moisture buildup and soothe skin. | Pharmacies, vet office |
| Small Comb | Fine-toothed comb | To gently remove any adhesive residue from the fur. | Pet supply stores, grocery stores |
Having these items laid out and ready will make the posting routine much smoother. You can often find many of these items through online retailers like Chewy or Amazon, making it convenient to stock up. Don't underestimate the importance of good quality tape; a poor tape choice can lead to skin irritation or the posts falling out prematurely.
Step-by-Step Posting Guide
Now, for the main event! This process will become second nature to you, but initially, it might feel a bit like performing surgery. Work in a quiet, calm environment, and if possible, have another person assist you to keep your puppy settled.
- Remove Old Posts (if applicable): Gently and carefully remove the old tape. If it’s sticking, use a pet-safe adhesive remover to prevent pulling your dog’s fur or skin. Go slowly. Once the tape is off, remove the old posts from the ear canal.
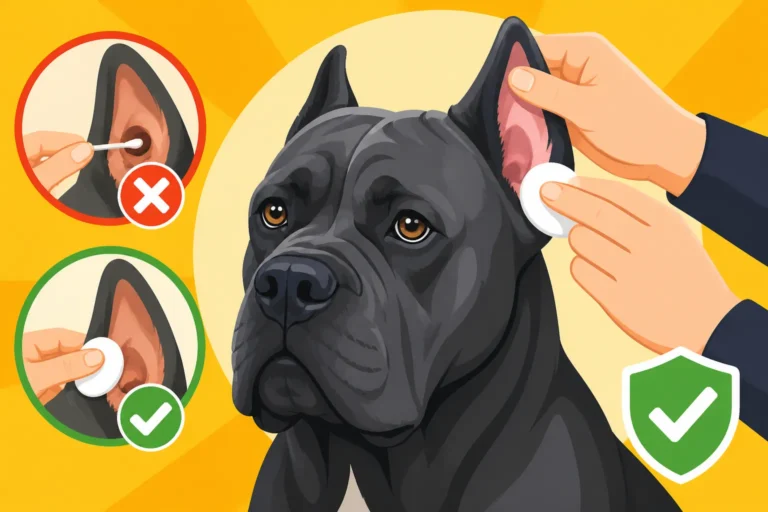
- Clean the Ears: This is perhaps the most crucial step. Thoroughly clean the entire ear, inside and out, with an antiseptic wipe or solution. Pay special attention to any creases or folds where moisture or debris might accumulate. Make sure the ear is completely dry before applying new tape; moisture is the enemy and can lead to skin irritation and infection. This is also a good time to do The Weekly Ear Check a Cane Corso Owner Should Do.
- Prepare the Post: Cut your backer rod or foam post to the appropriate length for your puppy's ear. It should reach from just inside the ear canal to the tip of the ear, but not extend beyond the tip. Wrap a thin layer of tape (sticky side out) around the bottom 1/3 of the post. This tape will help the post adhere inside the ear canal.
- Insert the Post: Gently insert the prepared post into the ear canal, ensuring it goes down just enough to be secure without causing discomfort. You want the ear canal to be open, not completely blocked. The goal is for the post to stand straight up within the ear.
- Tape the Ear to the Post: Starting at the base of the ear, just above the ear canal, begin wrapping tape (sticky side in) around the ear, securing it snugly but not too tightly to the post. Work your way up the ear, overlapping the tape slightly as you go. Ensure the ear is pulled taut and straight against the post. The goal is to avoid wrinkles or folds in the ear leather.
- Create a Bridge (if needed): For extra stability, especially in the early stages, you might create a "bridge" between the two ears. This involves running a piece of tape across the top of the puppy's head, connecting the two taped ears. This helps prevent the ears from flopping outwards. Make sure this bridge is not pulling the ears together too tightly or creating tension on the scalp.
- Check for Comfort: Once both ears are posted, observe your puppy. They should be able to move their head comfortably. Check the tape for any signs of being too tight (e.g., cold ear tips, swelling, extreme itching). If in doubt, re-tape. This takes practice, so don’t get discouraged if your first attempts aren’t perfect.
Frequency and Duration of Posting
How often you change the posts and how long the entire process takes will vary. Generally, new posts should go on every 3-5 days, or sooner if they get wet, dirty, or start to come loose. Between postings, give the ears a good 15-30 minutes of "air time" after cleaning to ensure they are completely dry before re-taping. This rest period is vital for skin health.
The total duration of posting can range anywhere from 3 to 6 months, and sometimes even longer, depending on the individual puppy, the thickness of their ear cartilage, and the crop style. Some Cane Corso ears stand quickly, while others require persistent effort. It's a marathon, not a sprint, and consistency is key. Don't be surprised if you're still posting around the time you start looking into Whether a Cane Corso Benefits From Joint Supplements – it's a commitment!
Troubleshooting and When to Seek Help
Even with the best intentions and meticulous care, you might encounter bumps along the way during the posting routine. It's important to differentiate between minor irritations and serious problems that require veterinary intervention.
Common Issues During the Posting Process
One of the most frequent complaints is skin irritation or tape burn. This often manifests as redness, a rash, or small sores around the edges of the tape or where the ear meets the skull. It's usually caused by the tape being too tight, moisture getting trapped under the tape, or an allergic reaction to the adhesive. If you notice irritation, you can try switching to a different type of hypoallergenic tape, ensuring the ears are completely dry before posting, and using a thin layer of medicated powder (like Zeasorb) on irritated areas between postings. Never tape over an open sore.
Another common frustration is the posts falling out or getting dislodged. This can happen if the tape isn't applied snugly enough, if your puppy is particularly active, or if they shake their head a lot. Ensuring the tape is properly adhered and considering a bridge strap can help. Sometimes, the ears simply won't stand, even after months of diligent posting. This might mean the cartilage is weaker than average, or there could be a subtle error in the posting technique. If you're consistently struggling, consider seeking advice from an experienced breeder or another veterinarian who specializes in ear cropping.
Finally, some puppies might develop an unpleasant odor from their ears. This usually indicates moisture buildup or a developing yeast/bacterial infection. Diligent cleaning and ensuring the ears are completely dry before re-posting are crucial. You can also use gentle ear cleaners to help combat odor. Remember, it's a learning curve, and it's okay to make adjustments as you go. Many of the supplies for dealing with these minor issues can be readily found on platforms like Chewy or Amazon.
Recognizing Serious Problems
While minor issues can often be managed at home, there are certain red flags that warrant an immediate call to your veterinarian. These include:
- Severe Swelling or Heat: Beyond typical slight puffiness, if an ear becomes significantly swollen, hot to the touch, or appears much larger than the other, it could be a sign of a serious infection or a circulatory issue.
- Persistent Pus or Foul-Smelling Discharge: Any thick, discolored discharge (green, yellow) or a strong, offensive odor that doesn't clear up after a thorough cleaning is a clear indication of infection. This is different from a mild, musty smell that might come from sweat under the tape; this is a pungent, concerning odor.
- Excessive Pain or Sensitivity: If your puppy cries out, flinches aggressively, or becomes unusually aggressive when you try to handle their ears, they might be experiencing significant pain beyond simple discomfort. This could indicate an underlying infection, trauma, or nerve irritation.
- Tissue Discoloration: Any part of the ear turning dark, black, or appearing necrotic (dead tissue) is a medical emergency. This could indicate a severe lack of blood flow, often from tape that was applied too tightly. This is a rare but serious complication.
- Fever or Lethargy: If your puppy develops a fever, becomes extremely lethargic, loses their appetite, or generally acts very unwell alongside ear issues, it suggests a systemic infection or other serious problem that needs urgent veterinary care.
Never hesitate to contact your vet if you're concerned. It's always better to be overly cautious than to let a serious issue fester. They can provide specific guidance, prescribe medication, or adjust the posting technique if needed. For more general ear health insights, check out What Collects in a Cropped Cane Corso's Ear.
Transitioning to Weaning and Long-Term Care
The day will come when you can finally stop posting, but knowing when that day is and how to ensure the ears stay up is another key part of the journey. It's a celebratory moment, but also one that requires continued vigilance.
Knowing When to Stop Posting
After months of diligent posting, you'll reach a point where you suspect the ears are strong enough to stand on their own. The typical recommendation is to start "weaning" the ears. This means removing the posts and letting the ears go free for a day or two. Observe them carefully:
- Do they stand perfectly erect?
- Do they wobble or lean significantly?
- Do they start to droop after a few hours or a day?
If the ears stand confidently and don't show any signs of drooping over a couple of days, you might be done! If they start to sag, even slightly, it means the cartilage isn't quite strong enough yet. Don't get discouraged – simply re-post them for another week or two and try again. Sometimes, a "one ear up, one ear down" scenario happens, in which case you might need to continue posting just the stubborn ear. This weaning process might involve several cycles of posting and checking. Patience truly is a virtue here. You want the ears to stand naturally and strong, not just for a few hours but permanently.
Remember that growth spurts or even teething can sometimes cause temporary drooping as calcium is redistributed in the body, so don't jump to conclusions if they droop once and then go back up. It’s a dynamic process.
Maintaining Ear Health After Posting
Even after the posts come off for good, your Cane Corso's ears still need attention. Regular cleaning is essential to prevent dirt, wax, and moisture from accumulating. Use a pet-safe ear cleaner and cotton balls to gently wipe the visible parts of the ear and just inside the ear canal. Avoid sticking anything deep into the ear canal, as this can cause damage. Cleaning a Cane Corso's Ear Without Going Deep is important for all dogs, especially those with modified ears.
Pay attention to any changes in the ears, such as redness, itching, or a foul odor, which could indicate an infection. While cropped ears often have better air circulation and can be less prone to certain types of infections than natural drop ears, they are not immune. For more information on this, consider exploring Whether Cropped Cane Corso Ears Get Fewer Infections. Regular visual inspections are quick and easy. Simply lift the ear and take a look inside. A healthy ear should be pale pink, clean, and free of strong odors.
Long-term care also involves protecting those ears. While they are now robust, extreme cold or repetitive trauma (like constantly bumping them on furniture) should still be avoided if possible. A well-cared-for Cane Corso will have beautiful, healthy ears that complement their striking appearance for their entire life.
Disclaimer
This article is for general informational purposes only and does not constitute professional advice. Laws, prices and regulations vary by location and change over time. Consult a qualified professional for guidance on your specific situation.