Cutting the Quick on a Cane Corso’s Black Nail
For any Cane Corso owner, the thought of trimming those formidable black nails can bring on a cold sweat. It's not just about wrangling a hundred-pound dog; it's the sheer terror of "quicking" them—cutting too deep and causing pain and bleeding, especially when you can't even see the quick! This guide is here to strip away that fear, offering you a clear, empathetic, and actionable path to confident and safe nail trims for your magnificent companion.
Why Black Nails Present Such a Unique Challenge
Let's be honest, trying to trim a dark nail is like navigating a pitch-black room with your eyes closed, hoping you don't stub your toe. When that toe belongs to a powerful Cane Corso, the stakes feel even higher. The opaque nature of black nails hides the sensitive quick, making every snip a bit of a gamble, and the sheer size and strength of a Cane Corso can make a wrestling match out of a simple grooming task.
The Hidden Anatomy of a Cane Corso's Black Nail
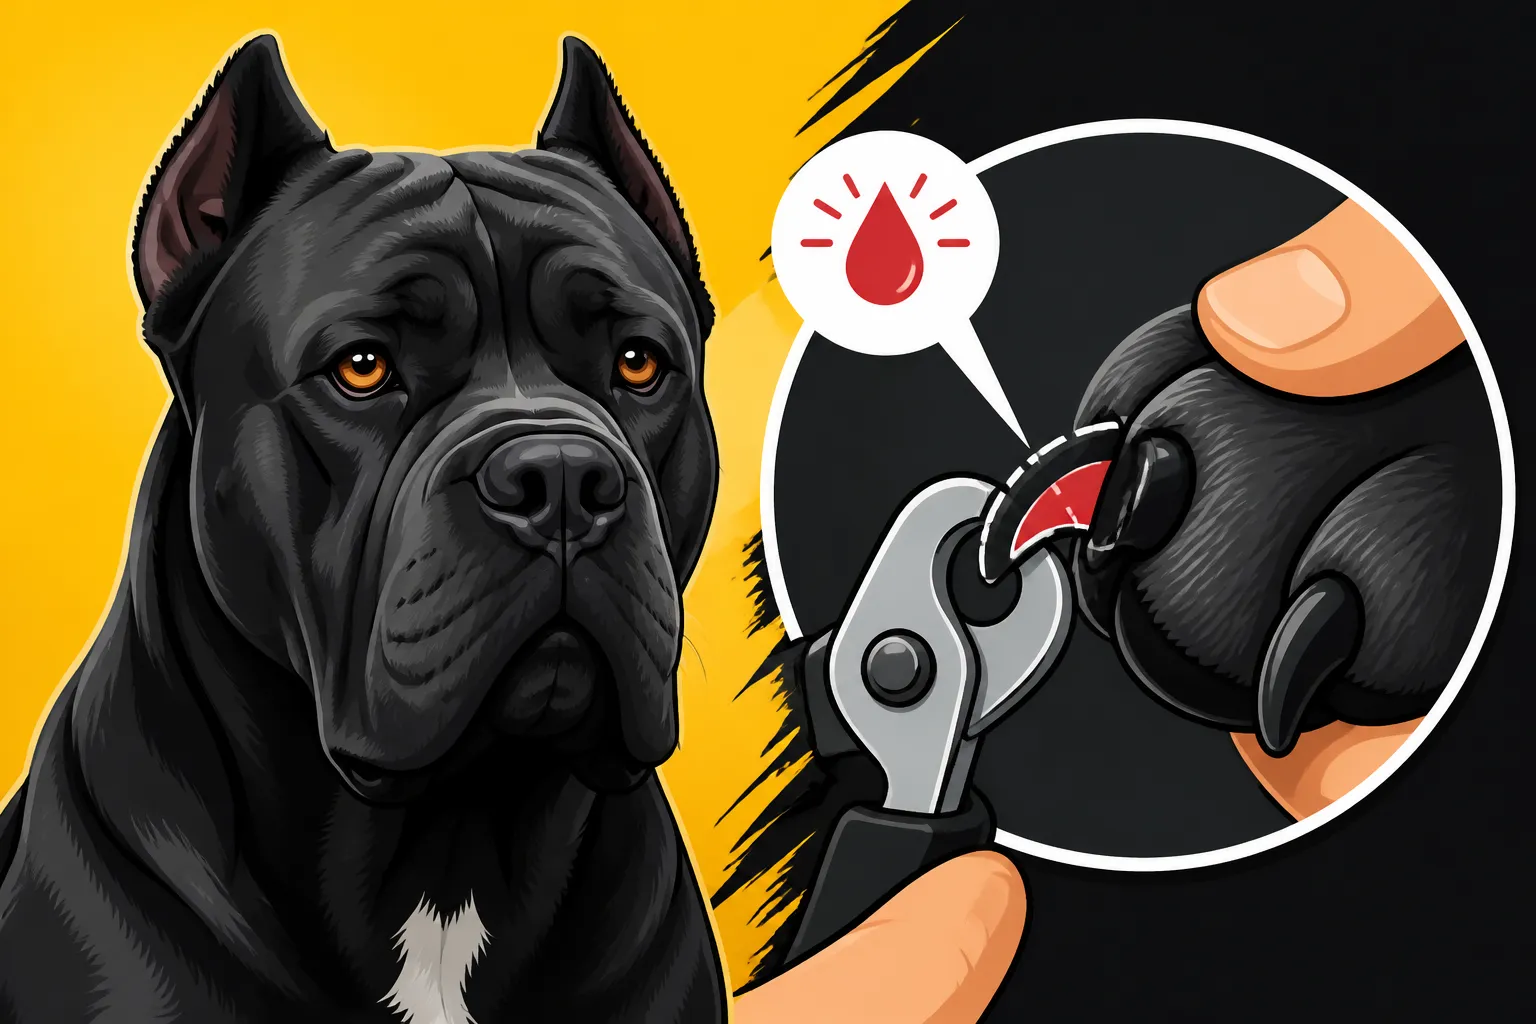
Underneath that tough, black casing, your Cane Corso's nail isn't just dead keratin. It’s a complex structure, and the most critical part we're trying to avoid is the "quick." The quick is a living tissue, rich with blood vessels and nerves, that extends partway down the nail. In dogs with clear or white nails, you can often see this pink quick as it stops before the very tip. With black nails, however, it’s completely obscured. You’re working blind, relying on subtle cues or a careful, incremental approach. If you cut into the quick, your dog will feel pain, and it will bleed – sometimes quite a lot, which can be alarming for both of you. This isn't just about discomfort; repeated quicking can make your dog fearful of nail trims, turning a necessary routine into a stressful ordeal for years to come.
The Intimidation Factor of a Large Breed
It’s one thing to trim the nails of a small dog; it’s an entirely different beast when you’re dealing with a Cane Corso. These dogs are powerful, often weighing over a hundred pounds, and if they decide they don’t want their paws handled, they can make it nearly impossible. Many owners struggle with the physical aspect of restraining their dog or simply feel guilty about forcing them into a situation they dislike. This apprehension often leads to nails getting too long, which in turn creates more problems. Long nails can impact your Cane Corso’s gait, causing splayed toes, discomfort, and even long-term joint issues as their weight distribution shifts. It’s a vicious cycle where the fear of trimming leads to nails that are even harder and more painful to trim down safely. Addressing this intimidation is the first step to successful grooming.
Essential Tools for a Cane Corso's Nail Care
Before you even think about tackling those talons, you need the right gear. Trying to use flimsy clippers on a Cane Corso's thick, strong nails is like bringing a butter knife to a steak dinner – ineffective and frustrating. Investing in quality tools designed for large breeds is non-negotiable for both your sanity and your dog's comfort.
Clippers Versus Grinders: Which is Best for Black Nails?
This is often the first big decision an owner faces. Both clippers and grinders have their place, but one might be a better fit for you and your Cane Corso, especially with black nails.
Clippers: There are scissor-style and guillotine-style clippers. For a Cane Corso, the heavy-duty, scissor-style clippers with sharp, strong blades are usually preferred. They allow for a precise, quick cut, which can be less stressful for some dogs than the vibration of a grinder. However, the downside with black nails is still the visibility of the quick. You're making an educated guess with each snip.
Grinders (Dremels): A rotary tool, often called a dremel-style grinder, files the nail down slowly. The significant advantage here, especially for black nails, is that you remove tiny layers at a time. This allows you to look at the cross-section of the nail as you go. As you get closer to the quick, you'll see a small, dark dot appear in the center of the nail, often surrounded by a chalky white ring. This "bullseye" is your signal to stop. Grinders are also excellent for desensitizing dogs who are fearful of clippers and create smoother nail edges. The main drawbacks are the noise and vibration, which some dogs find alarming, and the process takes a bit longer. However, the safety factor of incrementally revealing the quick is a huge win for black nails.
Here's a quick comparison:
| Feature | Nail Clippers (Scissor Style) | Nail Grinders (Dremel Style) |
|---|---|---|
| Visibility of Quick | Very difficult with black nails | Allows you to "read" the nail as you go, revealing the quick's approach |
| Speed | Faster per nail | Slower, but more controlled |
| Noise/Vibration | Silent, but loud "snip" sound can be startling | Produces noise and vibration, which some dogs dislike |
| Result | Can leave sharp edges | Smooth, rounded edges |
| Risk of Quicking | Higher, especially with black nails | Much lower due to incremental removal |
| Dog Acceptance | Varies; some prefer quick cuts, others fear the snap | Varies; some dislike noise/vibration, others prefer gentle filing |
| Cost | Generally lower for quality clippers | Higher initial cost, but long-lasting |
Must-Have Supplies for Safety and Comfort
Beyond your main trimming tool, a few other items are non-negotiable for a successful and safe nail care routine.
First, styptic powder (like Kwik Stop or similar brands found readily on Chewy or Amazon). This is your absolute emergency go-to if you do quick your Cane Corso. It’s a powder that clots blood rapidly. Having it within arm's reach before you start is crucial. Don't go searching for it when your dog is bleeding and you're panicking. A bit of cornstarch can work in a pinch, but styptic powder is far more effective.
Second, an abundance of high-value treats. We're talking about something your Cane Corso absolutely adores. Cheese, cooked chicken, slices of a high-quality food roll like those from Ollie, or even peanut butter on a lick mat. The goal is to make nail trims a positive experience, not a punishment. Your dog should associate the clippers or grinder with delicious rewards.
Third, good lighting. This might sound obvious, but trying to do this in a dimly lit corner is setting yourself up for failure. A headlamp can be incredibly helpful as it directs light exactly where you need it, freeing up both your hands. The better you can see the nail, even if it's black, the more clues you'll pick up.
Finally, a non-slip surface. Trying to trim nails on a slippery floor will make your Cane Corso feel insecure and more likely to struggle. Use a yoga mat, a rubber bath mat, or trim them on carpet. This small consideration can make a huge difference in your dog's willingness to cooperate.
A Step-by-Step Guide to Trimming Black Nails Safely
Now that you're armed with the right knowledge and tools, it's time to get down to business. Remember, patience and consistency are your best friends here. Don't expect perfection on the first try.
Preparing for the Trim: Setting the Stage for Success
Preparation isn't just about gathering your tools; it's about setting the emotional tone for both you and your Cane Corso. First, choose a time when your dog is relaxed, perhaps after a long walk or a play session when they're tired and mellow. Avoid doing it when they're overly excited or rambunctious.
Next, find a quiet, well-lit space where you won't be interrupted. Lay out your tools: clippers or grinder, styptic powder, and those irresistible high-value treats. Have a second person available if possible, especially when you're starting out. One person can gently hold and distract the dog with treats while the other focuses on the nails. This can be a game-changer for a large, opinionated breed like the Cane Corso.
Before you even touch a nail, spend a few minutes simply handling your dog's paws. Gently rub their feet, touch their nails, and praise them while offering treats. This desensitization process, done regularly even when not trimming, is invaluable. Make it a normal, pleasant interaction, not just something that happens when you're about to "torture" them with nail care. Over time, this routine paw handling can make all the difference when it's time for the actual trim.
Finding the Quick: Techniques for Black Nails
This is the trickiest part, but it's not impossible. If you're using clippers, the goal is to take off very small amounts at a time. Instead of trying to find the quick, you're looking for changes in the nail's appearance. Start by just snipping off the very tip, where the nail naturally curves down towards the floor. Then, make tiny cuts, perhaps 1/16th of an inch at a time, looking at the fresh cut surface after each snip.
As you get closer to the quick, the interior of the nail will change. Initially, it will look hard, dense, and uniformly black or gray. As you get closer to the quick, you'll often see a chalky white or gray ring appear, and then a small, darker, fleshy circle will emerge in the very center. This is your "bullseye" – stop immediately! You're right at the edge of the quick. For some black nails, this dark center is less obvious, so err on the side of caution. If you see any hint of a lighter, moist, or pinkish spot, you've gone too far.
If you're using a grinder, this process is even more controlled. Turn the grinder on and let your dog get used to the sound and vibration before touching their paw. Start by grinding off tiny layers. You'll literally see the dust coming off. Keep an eye on the cross-section of the nail. As you file, the hard outer shell will give way to a softer, often lighter gray or white inner ring. When you see a small, dark, shiny dot emerge in the very center of this ring, that's the quick. Stop grinding! The beauty of the grinder is that it heats up the nail slightly as you work, which can also give you a sensory cue to pull back before hitting the quick, as the dog may react.
The Actual Trim: Small Cuts, Frequent Checks
Whether you're clipping or grinding, the mantra is "little by little." For clipping, aim to cut at a 45-degree angle, following the natural curve of the nail. Don't try to get all the nails done at once if your Cane Corso is getting antsy. It's perfectly fine to do one paw, or even just one nail, per session. Focus on making each experience as positive as possible. Give a treat after each successful snip or grind, not just at the end. This constant reinforcement helps build a strong positive association.
When using clippers, hold your Cane Corso's paw firmly but gently. Isolate the nail you're working on. Ensure you're only cutting the nail and not any surrounding fur or paw pad. Make that small snip, check the nail's cross-section, and if you don't see the quick, proceed with another tiny snip. Repeat until you see that tell-tale "bullseye" or you feel you're close enough. Remember that the quick will recede over time if you consistently trim the nails short.
With a grinder, touch the grinder to the nail for only a few seconds at a time, then pull it away to check your progress and prevent the nail from overheating. You can use this method to bevel the nail, rounding off the edges. This is particularly good for working dogs or those who spend a lot of time on hard surfaces, as it reduces sharp edges that can snag or chip. Always keep the grinder moving slightly; don't hold it in one spot.
Grinding for Smoothness and Quick Recession
Even if you primarily use clippers, a grinder can be a fantastic tool for finishing the job and helping the quick recede over time. After clipping, the nails can be a bit sharp. A quick pass with a grinder can smooth out these edges, preventing scratches on your floors and furniture (and you!).
More importantly, consistent, short grinding helps to encourage the quick to recede further back into the nail bed. Long nails mean a long quick. By trimming or grinding regularly, even if it's just taking off a tiny bit every few days or once a week, you're slowly pushing that quick back. This means that eventually, you'll be able to get the nails shorter and shorter without risking a quicking incident. This is especially beneficial for those Cane Corsos whose nails have gotten quite long. It's a marathon, not a sprint. Regular, small sessions are far more effective than infrequent, stressful attempts to take off too much at once.
Dealing with a Cut Quick and Other Challenges
Even the most careful owners can accidentally nick the quick. It happens. Don't panic. Knowing how to react calmly will minimize distress for both you and your Cane Corso and ensure a quick recovery.
When You Accidentally Cut the Quick: First Aid and Reassurance
Okay, it happened. You heard a yelp, and there's a drop of blood. Your first instinct might be to freak out, but take a deep breath. Your Cane Corso will pick up on your anxiety.
- Stay Calm: Seriously, this is the most important step. Speak in a soothing voice.
- Apply Styptic Powder: Immediately press a pinch of styptic powder directly onto the bleeding nail. Hold it there with firm, continuous pressure for about 10-20 seconds. If the bleeding doesn't stop, reapply and hold for longer. You might need to use a bit more pressure than you think. You can often find effective styptic powder brands and applicators on Chewy or Amazon.
- Offer Reassurance: Once the bleeding stops, give your Cane Corso a big, high-value treat. Praise them for being brave. Don't act like it was a terrible tragedy. Act like it was a minor bump in the road.
- Clean Up: Once the bleeding has completely stopped, you can gently wipe away any excess powder. Keep an eye on the nail for the next hour or so to ensure it doesn't start bleeding again.
- Don't Force More Trims: If you've quicked a nail, end the session. Trying to push through and do more nails will only solidify a negative association. Live to trim another day.
Remember, a quicked nail, while painful and messy in the moment, is rarely a serious injury. It's more about the fear and the negative association it can create. Handling it calmly and confidently is key to maintaining your dog's trust.
Building a Positive Association with Nail Trims
For many Cane Corsos, nail trims are inherently stressful. The key to long-term success isn't just about technique, but about changing their emotional response. This is where positive reinforcement shines.
Start small and go slow. If your dog hates having their paws touched, begin there. Every day, gently touch their paw for a second, then immediately give a treat and praise. Gradually increase the duration and intensity of the touch. Don't move on until your dog is comfortable with the current step.
Next, introduce the tools. Let your Cane Corso sniff the clippers or grinder. Turn the grinder on briefly, away from them, and give treats. Let them associate the sound and sight with good things. Never force the issue. If they pull away, let them, then try again more gently.
When you're ready to trim, do one nail. Just one. Clip or grind it (even just the very tip), give a jackpot of treats (maybe a big dollop of peanut butter or a piece of that special Ollie food), and then end the session. The goal is for them to think, "Oh, that was easy, and I got amazing food!" Over time, you can gradually increase the number of nails you do per session. Consistency is critical here. Short, frequent, positive sessions are far more effective than long, infrequent, stressful ones. Consider having special, extra-tasty treats only for nail trim time to amplify the positive association.
Maintaining Nail Health Between Trims
The battle against long nails isn't just won at the trimming station; it's an ongoing effort. Regular maintenance is crucial, especially for an active Cane Corso. If your dog spends a lot of time on hard surfaces like pavement or concrete, this can naturally help wear down their nails. However, be mindful of hot pavement, especially with a Black Cane Corso Overheats First, and ensure their paw pads are protected. Always check Cracked Pads on a Working Cane Corso regularly.
For most Cane Corsos, especially those with naturally fast-growing nails, a regular trimming schedule is essential. Aim for trims every 2-4 weeks. If you're consistently trimming and taking small amounts off, the quick will begin to recede, allowing you to get the nails shorter over time. You might find that some of your Cane Corso's nails, like the dewclaws (if present), don't get much natural wear and will need more frequent attention. Don't forget Whether a Cane Corso's Dewclaws Need Attention.
Consider using joint supplements if recommended by your vet, as good paw health contributes to overall joint well-being, which is vital for a heavy breed. While not directly related to nail trimming, a healthy, active Cane Corso whose Cane Corso's Hips Are Starting to Go will certainly benefit from proper paw and nail care. Keeping those nails short improves their posture and takes unnecessary strain off their joints, allowing them to move more comfortably and gracefully. Your ultimate goal should be nails that barely touch the ground when your Cane Corso is standing on a flat surface.
Disclaimer
This article is for general informational purposes only and does not constitute professional advice. Laws, prices and regulations vary by location and change over time. Consult a qualified professional for guidance on your specific situation.